
|
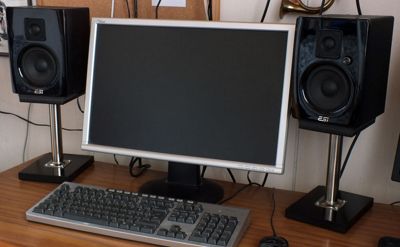
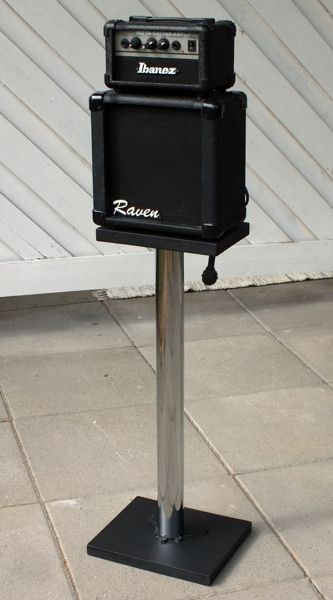
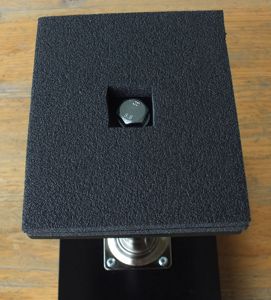
You can make speaker stands using furniture legs. Just add a
wooden base and another piece to support the speaker.
 |
  |
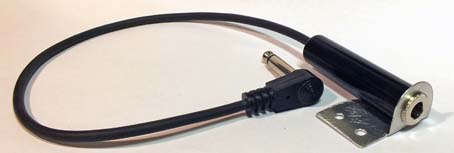 Extension
jacks
offer an easy way to build connections to / from pedalboards. I use
this just for guitar input but you can combine several to one
mounting bracket. Aluminum is probably best material for the
bracket, whatever shape you prefer.
Extension
jacks
offer an easy way to build connections to / from pedalboards. I use
this just for guitar input but you can combine several to one
mounting bracket. Aluminum is probably best material for the
bracket, whatever shape you prefer.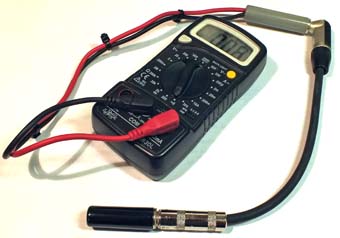
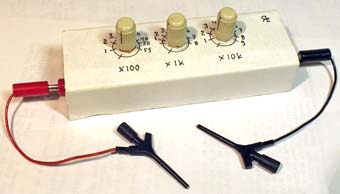 This is a cheap
alternative to a real decade box. It helps you to find a suitable
resistor, like a transistor´s bias resistor in a stompbox, without
calculations.
This is a cheap
alternative to a real decade box. It helps you to find a suitable
resistor, like a transistor´s bias resistor in a stompbox, without
calculations.
 (This
is not my original idea, read about it somewhere). A professional
saddle file set is expensive. A cheap welding tip cleaner tool
like this might be good enough for occasional use. You can find
one in a hardware store that sells welding tools.
(This
is not my original idea, read about it somewhere). A professional
saddle file set is expensive. A cheap welding tip cleaner tool
like this might be good enough for occasional use. You can find
one in a hardware store that sells welding tools.
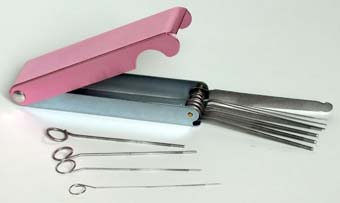
I use a caliper to select right size tool for each string. They
seem to work fine, at least with soft nut material, like plastic.
I use these only for fine tuning, other tools are much faster if
you have to start with a blank nut.
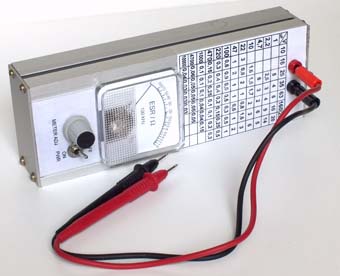 This is a valuable
tool if you repair electronics or use junk components (like I do).
ESR-meter is the only way to properly check electrolytic capasitors.
This is a valuable
tool if you repair electronics or use junk components (like I do).
ESR-meter is the only way to properly check electrolytic capasitors.
 A
program that can measure the frequency response of a circuit under
development is really usefull, especially if you are working with
filters, eq-circuits or wah-pedals. Suitable programs can be found
for free in the web and usually no extra hardware is
necessary. Programs use your pc´s soundcard output to send the
measuring signal to the circuit and soundcard input to read the
results. I have used HOLMImpulse v1.4.2.0 which, in my opinion, is
simple and easy to use. The example plot above shows the frequency
response of the cab simulated output of a Digitech Tone Driver
pedal.
A
program that can measure the frequency response of a circuit under
development is really usefull, especially if you are working with
filters, eq-circuits or wah-pedals. Suitable programs can be found
for free in the web and usually no extra hardware is
necessary. Programs use your pc´s soundcard output to send the
measuring signal to the circuit and soundcard input to read the
results. I have used HOLMImpulse v1.4.2.0 which, in my opinion, is
simple and easy to use. The example plot above shows the frequency
response of the cab simulated output of a Digitech Tone Driver
pedal.
 |
 |
 |